What is Photoshop Masking?
Masking in Photoshop is a technique used to hide or reveal parts of an image without permanently altering the original photo. This non-destructive editing process is crucial for making adjustments that can be easily modified later. There are two main types of masks in Photoshop: layer masks and clipping masks.
Layer Masks: These masks allow you to control the transparency of different areas within a single layer. By painting on the mask with black, white, or shades of gray, you can hide or reveal parts of the layer.
Clipping Masks: Clipping masks use the content of one layer to control the visibility of another. This is particularly useful for applying textures, patterns, or adjustments to specific parts of an image.
Why Use Masking?
Masking provides several advantages over other selection methods:
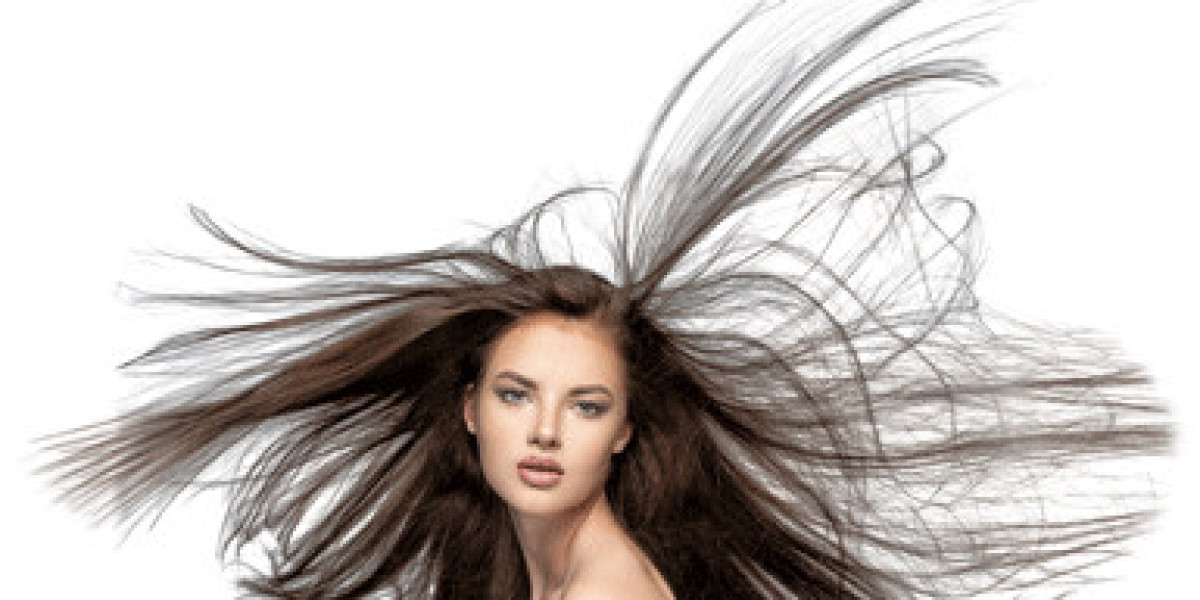
Precision: Masks allow for more precise selections, especially when working with complex shapes or fine details like hair or fur.
Flexibility: Since masks are non-destructive, you can always go back and refine your edits without losing any original data.
Creativity: Masks open up endless creative possibilities, from seamless photo composites to intricate designs and effects.
Getting Started with Layer Masks
Creating a Layer Mask: To add a layer mask, select the layer you want to edit and click the "Add Layer Mask" button at the bottom of the Layers panel. A white thumbnail will appear next to your layer, indicating the mask is active.
Painting on the Mask: Use the Brush tool to paint on the mask. Painting with black will hide parts of the layer, while painting with white will reveal them. Shades of gray will create semi-transparency, useful for soft transitions.
Refining the Mask: Use the Brush tool's different settings (opacity, hardness, size) to refine your mask. The Gradient tool can also be helpful for creating smooth fades.
Advanced Masking Techniques
Select and Mask: For more complex selections, use the Select and Mask workspace. This tool offers various options like the Quick Selection tool, Refine Edge Brush, and more, to help you create precise masks.
Vector Masks: For even more precision, especially with geometric shapes, use vector masks. These masks use paths instead of pixel-based brushes, providing sharp, clean edges.
Combining Masks: Don’t be afraid to combine different masking techniques. For example, start with a rough selection using the Quick Selection tool, refine it with the Select and Mask workspace, and then fine-tune with a layer mask.
Tips for Effective Masking
Zoom In: Work at a high zoom level for detailed areas to ensure precision.
Feathering: Use feathering to soften the edges of your mask for a more natural blend.
Invert Mask: Quickly invert your mask by pressing Ctrl+I (Cmd+I on Mac). This can be useful when you want to switch the visible and hidden areas.
Conclusion
Mastering Photoshop masking service opens up a world of possibilities for your photo editing and graphic design projects. With practice and experimentation, you'll be able to create professional-quality edits that stand out. Remember, the key to effective masking is patience and attention to detail. Happy editing!